Juicy Air Fryer Chicken Breasts: Your New Go-To for Busy Nights
In the whirlwind of a busy week, finding a dinner solution that’s both quick and truly satisfying can feel like an impossible quest. Too often, convenience comes at the cost of flavor or texture, leaving us with dry, uninspired meals. But what if there was a way to create perfectly tender, incredibly juicy air fryer chicken breast that practically cooks itself? Prepare to be amazed, because this recipe isn't just easy – it's a game-changer that will revolutionize your weeknight dinners and meal prep.
Forget everything you thought you knew about cooking boneless, skinless chicken breasts. No more dry, bland "Protein X" destined for a supporting role. With the magic of your air fryer and a couple of clever techniques, these chicken breasts emerge gloriously golden on the outside, bursting with flavor, and so succulent they could easily be the star of any plate. This isn't just another way to cook chicken; it’s arguably the best way, offering unmatched speed, flavor, and cleanup ease. Let's dive into how you can achieve culinary perfection, even on your busiest evenings.
Why the Air Fryer Reigns Supreme for Chicken Breasts
If your air fryer has been relegated to reheating leftovers or making fries, it’s time to unleash its true potential. For chicken breasts, this handy appliance is nothing short of revolutionary. Its circulating hot air acts like a mini convection oven, enveloping the chicken in consistent heat that cooks it remarkably evenly from all sides. This controlled environment locks in moisture far better than traditional oven baking or pan-frying, which can often strip chicken of its natural juices.
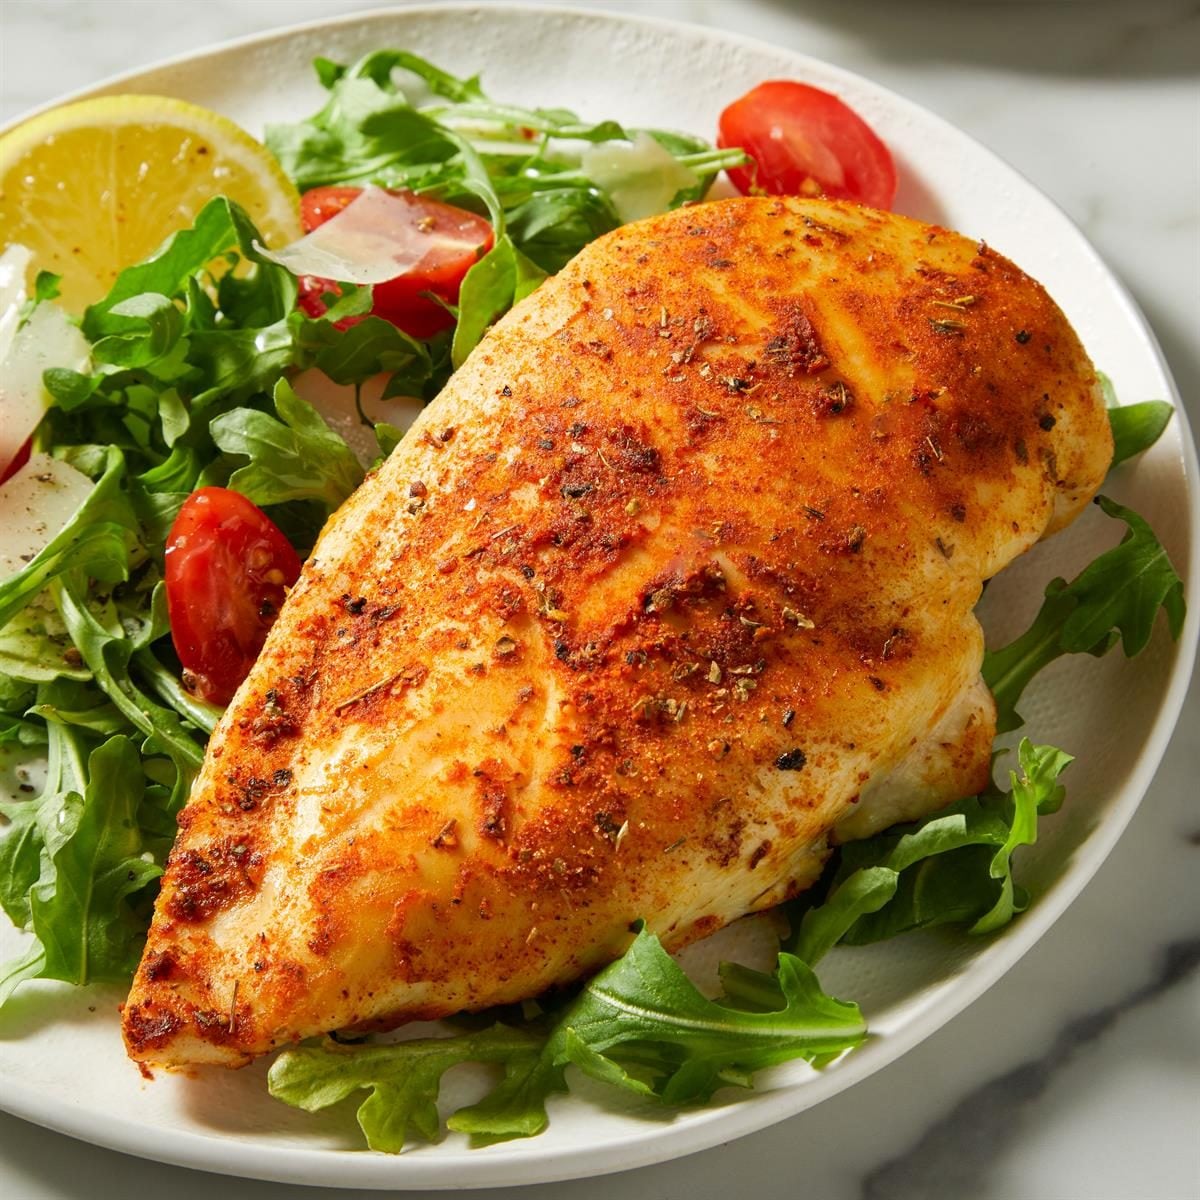
The result? A consistently beautiful, golden-brown exterior with a delightful, lightly crisp texture, while the inside remains astonishingly tender and moist. Plus, let's not overlook the minimal cleanup – a huge win on those chaotic weeknights. From the quick prep to the hands-off cooking and easy post-meal tidying, the air fryer makes cooking perfect air fryer chicken breast less of a chore and more of a joy.
The Secret to Unbelievably Juicy Air Fryer Chicken Breast
Achieving truly succulent chicken isn't just about the appliance; it's about technique. While a good seasoning blend and proper cooking time are crucial, there's a lesser-known secret that elevates this recipe from great to absolutely extraordinary: the velveting method, borrowed from Chinese cooking traditions.
The Velveting Advantage: Baking Soda for Tenderness
The core of this secret lies in a surprising ingredient: baking soda. Before you even think about seasoning, a quick soak (no more than 15-20 minutes) in a simple "brine" of baking soda and water works wonders. This process, known as velveting, gently breaks down the proteins in the chicken, making it incredibly tender. Beyond tenderness, it also creates a protective layer that helps seal in moisture during the cooking process. This is the difference between good air fryer chicken and truly exceptional air fryer chicken.
For a deeper dive into this incredible technique and more tips on ensuring your chicken is never dry, check out The Secret to Succulent Air Fryer Chicken: No More Dry Meals.
Beyond Velveting: Essential Tips for Moisture Retention
- Pat Dry, Then Oil: Even after velveting, ensure your chicken breasts are thoroughly patted dry with paper towels before seasoning. This step is vital for achieving that beautiful golden crust. A light coating of olive oil then helps the spices adhere and further aids in crisping the exterior while preventing sticking.
- Season Generously: A robust blend of pantry staples like garlic powder, paprika, Italian seasoning, and black pepper creates a fantastic base. Don't be shy! Customization is key here – experiment with smoked paprika, onion powder, chili powder, or even a dash of cayenne for a kick.
- Don't Overcrowd the Basket: For even cooking and optimal air circulation, arrange chicken breasts in a single layer without overlapping. Cook in batches if necessary.
- The Power of the Meat Thermometer: This is non-negotiable for truly perfect chicken. Cook until the thickest part reaches an internal temperature of 165°F (74°C). Pulling it out precisely at this point prevents dreaded overcooking, the number one culprit of dry chicken.
- Rest, Rest, Rest!: Once cooked, resist the urge to slice immediately. Transfer the chicken to a cutting board and let it rest for at least 5-10 minutes. This allows the juices to redistribute throughout the meat, ensuring every bite is moist and flavorful. Skipping this step is a common mistake that can lead to surprisingly dry chicken.
Cooking Your Perfect Air Fryer Chicken Breast: Step-by-Step
Here’s how to bring it all together for a consistently delicious meal:
- Prep the Chicken: Start with boneless, skinless chicken breasts. If they are very thick, you might consider pounding them to an even thickness (about 1 inch) for more uniform cooking.
- Velvet (Optional, but Highly Recommended): In a bowl, combine 1 teaspoon of baking soda with 1 cup of water. Submerge the chicken breasts and let them soak for 15-20 minutes. Drain and rinse thoroughly under cold water. Pat the chicken breasts completely dry with paper towels.
- Season Up: Drizzle each chicken breast lightly with olive oil (about 1 tablespoon for 2 breasts), ensuring they are fully coated. In a small bowl, mix your chosen spices (e.g., 1 tsp garlic powder, 1 tsp paprika, 1 tsp Italian seasoning, ½ tsp black pepper, ½ tsp salt). Rub the seasoning generously over all sides of the chicken.
- Preheat Your Air Fryer: Check your air fryer's manual. While some models don't require it, preheating to 375°F (190°C) for 3-5 minutes can help ensure more even cooking and a better sear.
- Air Fry: Place the seasoned chicken breasts in the air fryer basket in a single layer. Cook at 375°F (190°C) for 10-12 minutes per side, for a total of 20-25 minutes.
- Flip & Finish: Halfway through the cooking time, carefully flip the chicken breasts to ensure even browning and cooking.
- Check for Doneness: Always verify doneness with a meat thermometer. The internal temperature in the thickest part should reach 165°F (74°C). Adjust cooking time slightly if needed, but remember, every air fryer is a little different!
- Rest: Transfer the cooked chicken to a cutting board and let it rest for 5-10 minutes before slicing or serving.
Versatility and Meal Prep Powerhouse
One of the greatest advantages of perfectly cooked air fryer chicken breast is its incredible versatility. This isn't just a dinner recipe; it's a meal prep essential.
- Dinner Star: Serve alongside roasted vegetables, a fresh garden salad, or fluffy quinoa for a complete and healthy meal.
- Salad Topper: Slice or dice for an instant protein boost in your favorite green salads or grain bowls.
- Sandwich & Wrap Filler: Shred or chop the chicken for delicious chicken salad sandwiches, wraps, or hearty paninis.
- Pasta Perfection: Add sliced chicken to pasta dishes, stir-fries, or even creamy risottos.
- Quick Lunches: Cook a larger batch at the beginning of the week and have ready-to-eat protein for quick, nutritious lunches.
The possibilities are truly endless, making this recipe a back-pocket staple you'll reach for again and again. To discover more creative ways to incorporate this versatile chicken into your weekly routine, explore Quick Air Fryer Chicken Breast: Versatile Dinners & Meal Prep.
Conclusion
Say goodbye to dry, uninspiring chicken breasts and hello to your new favorite way to cook! This easy, reliable recipe for juicy air fryer chicken breast promises not only a delicious meal but also remarkable convenience, perfect for anyone juggling a busy schedule. By harnessing the power of your air fryer and incorporating a few simple yet effective techniques like velveting and proper resting, you'll consistently achieve chicken that is tender, flavorful, and incredibly versatile. Go ahead, give it a try – your taste buds, and your busy nights, will thank you.
